 |
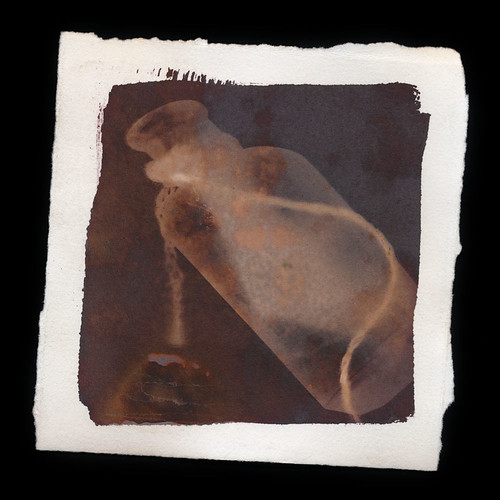
| Salt print made during a demo with tap water and fast-food salt packets. It doesn't get any less exacting than this. |
Salt prints aren't complicated. They're also not very dangerous. You can purchase the silver nitrate required in a pre-mixed low-concentration solution. I bought my 15% silver nitrate from Bostick & Sullivan. Here's the link to the specific product I used. 100ml should last a fairly long time, since you only need a single eyedropper full to coat a 5x7 sheet of paper. Each eyedropper is maybe 1ml.
By avoiding powdered silver nitrate, you significant reduce the risks of the chemical. In its dilute, liquid form, it won't burn your skin or get into your respiratory system. It can still cause some nasty harm if it gets in your eyes, but wearing glasses or goggles will protect you. At worst, it will cause stains on counters, skin and anything else organic (including plastics... like plexiglass and acrylic). So what safety gear do you need? Gloves and glasses. The most basic of chemical safety practices will be entirely sufficient.
I am assuming that you use 15% liquid silver nitrate solution. I won't give any details about how to mix the solution yourself, because I never do that. I don't like caustic chemical dust in my house.
Now, onto the actual process! Here's the short, simple version first.
Basic Materials
- Salt (approx. 10-100 grams)
- Water (approx. 1 liter)
- Brushes (foam, hake or flats) or a Puddle Pusher
- Soaking basin or tray
- Jug or glass to mix salt water in
- 15% silver nitrate solution
- Eyedropper
- Rubber gloves
- Protective eye goggles or glasses
- High-quality watercolor or printmaking/drawing paper
- Picture frame or alternate exposure method
- Negatives or photogram objects
- OPTIONAL: Hair dryer
- OPTIONAL: Photographic Paper Fixer (diluted to 25% regular working strength)
Simplified Step-by-Step Instructions
- Gather your materials and set up!
- Mix up a 1-5% solution of salt water.
- Soak your paper in the salt water for at least 10 minutes.
- Dry completely!
- Use the eyedropper to apply a line of silver nitrate across the top of the salted paper.
- Spread the silver nitrate into a thin, even coat with a foam brush.
- Dry Completely!
- Place a negative or photogram object on the coated paper.
- Cover the paper and your negative/object with glass. Real glass, not plexiglass.
- Place in the sun for ~10-20 minutes.
- VERY OPTIONAL: Rinse the print in a salt water bath for 5 minutes to remove extra silver.
- OPTIONAL: Fix the print in regular photo fixer (diluted to 25% strength) for 1 minute.
That's it. That's the entire process! Well... basically. I can, and will, go into a bit more detail. Actually, a lot more detail, my arachnodroid friends. The rest of the write-up is already over 1000 words long and it's still not done. So that's going to be broken off into a second entry. Stay tuned, spiders!
No comments:
Post a Comment