That's all well and good, but today we're talking about a different kind of green. At I thought that green pigments for anthotypes would be really easy to come by; plants are green, right? Well, I tried just throwing green leaves, cut grass and shrubbery into the blender and making prints with the resulting muck. Nothing. There just wasn't enough pigment in most leafy bits to generate a lasting dye. Considering how hard it is to remove grass stains from clothing, I think there might still be potential there and the grass I was using was just too dry and dead. Very real possibility considering the lawns around here.
So, there was despair. Later, I was able to track down some potential subjects and tried them out. I've actually had a lot more success than expected! So, here are the green dyes that I've tested and the results.
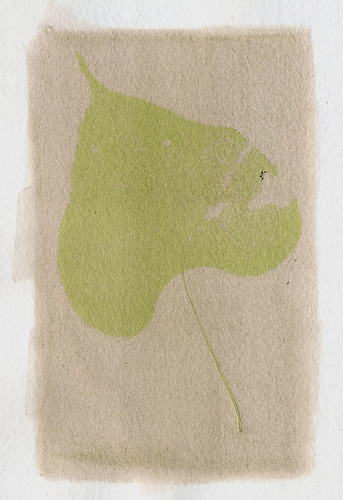 |
| Swiss Chard Anthotype |
Spinach: Before I came across chard, I tried spinach. I will be trying it again in the future, but the plant is closely related to chard and I don't expect the results to differ very much. My original results from spinach produced a stain so faint it was almost invisible before exposure and after it was exposed the result needed extensive post-processing to even be seen.
Spirulina: Fairly cheap to purchase, you can get spirulina at your local health store because it's some trendy new part of a healthy diet. Lots of plant-protein or something. For our purposes it's a dark green powder that readily dissolves in alcohol and will give you a smooth, bright green that hasn't got much yellow or blue to taint it. It's also pretty fast; exposures will vary but should be less than 4 days.
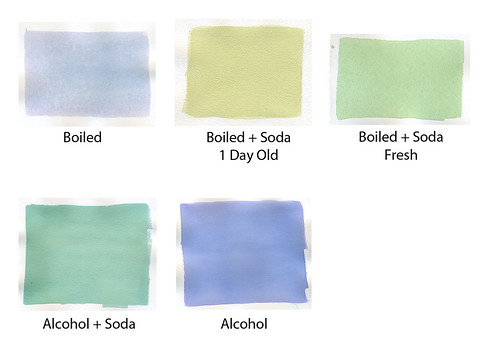 Red Cabbage: The color of the liquids here is pretty deceptive, and red cabbage is a dye that needs some fiddling to produce the colors you want. Baking soda (alkali) will alter the color of the liquid and the stain. I haven't tried acid, but that's on my to-do list. The raw liquid obtained from pureeing the cabbage leaves is bright violet, but dries down to a nice summer-sky blue. To get a green, you'll add the baking soda to your filtered liquid, which will turn bright blue. The blue liquid will produce a nice sea-green stain. If you use alcohol to dilute your cabbage, the color that results will be bluer. Using water gives you a more green cast. This gets a little complicated, so there's a chart!
Exposure times for red cabbage, no matter the color, are on the heavy end of the scale, at least a full week. This may be due to working in the autumn instead of the summer. The brighter greens may require a bit of tweaking in Photoshop to give the best detail; there are similar issues to turmeric and sandalwood with the intensity and brightness of the color hiding some detail. The boiled dyes also did not perform nearly as well as the alcohol-based dyes.
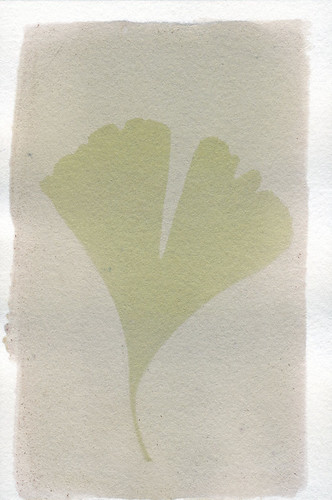 | |
| Blackberry Anthotype |
Oak Leaves: Terrible idea. Ran them through the blender with alcohol, didn't stain at all.
Grass: Also a terrible idea. Considering how common grass stains are on clothing, though, I think the problem might have been that the grass I was using was just dry and sickly. I might have to talk to some landscaping people at a park or golf course and see if I can get some clippings.
No comments:
Post a Comment