When I first started researching anthotypes and the possible dyes used to make them, I immediately found that there are very few ways to create natural, plant-based dyes that fall into the cooler part of the color spectrum. Many plants create yellows, oranges, red-pinks, purples and browns. There are very few natural plant-based dyes that create blues or greens.
At first I thought, well that's stupid, most plants are green, why can't I just grind up their leaves? Well, most plants that I tired simply didn't produce much of a color, even ground up and reduced to a paste. While searching around Flickr, and then again reading Malin Fabbri's new book on Anthotypes, I learned that chard seems to give a good, strong green. Researching other natural dyes, I came across some ideas for using red cabbage to produce a blue and learned that an algae called spirulina is used to tint soaps and candles green.
So, I went to the local health store to buy the spirulina (it's also a herbal diet supplement) and hit the local grocery store to get the chard and the red cabbage.
Chard was a bit tricky to work with. The instructions I had run across suggested boiling it to produce a stronger color. This was in direct contrast to my earlier observations that boiling dyes seems to break down the pigment and give a weaker color. My experiments with chard basically confirmed my earlier theory: the boiled chard solution was pale and brownish. I do not anticipate strong results.
I tried putting shredded chard leaves into the blender mixed with water and got a reasonably strong solution, strained through cheesecloth to remove the plant matter. My results were far stronger, again as noted in earlier experiments, when iso-alcohol was used instead of water. Chard seems to produce a very nice, soft green that fades to brown when exposed to light. That gives a good contrast between the image and the field.
Spirulina hasn't been exposure-tested yet, but I've mixed up a solution of the algae (it's a dark green powder) and iso-alcohol that gave a good, true green. It's a bit bluer than the chard solution and a tiny bit darker. Expecting good things from the mixture.
The red cabbage was a very surprising idea. I actually found it on a blog about all-nature food coloring alternatives. The original recipe, once again, called for boiling. Already suspicious, I tried both boiling the leaves and blending them into paste. By itself, the red cabbage renders an intensely violet dye, but when applied to paper it dries from violet to a pure sky blue, a truly gorgeous color. The boiled dye produced virtually no results, but the blended (diluted with alcohol) mixture is great.
The food blog entry was about creating blue dye from red cabbage, and in a liquid form the red cabbage is violet. So the food blogger noted that adding alkalinity to the cabbage dye (baking soda) would convert the violet liquid into a deep blue solution. It does! It's amazing! Hold up, though. Just as the violet liquid dries into a sky blue, the navy liquid from the baking soda-cabbage mixture dries a different color: teal. It's an absolutely amazing blue-green and I can't wait to see what it looks like after exposure!
I am SO excited to get these mixtures into frames, but it will have to wait until after the weekend. I will be scanning the test sheets before exposure to document the colors. I'm working on a more orderly approach, with double the records, since I'm in the process of compiling together what might become a book on anthotypes.
Friday, November 2, 2012

Tuesday, August 7, 2012
Time to Dye
 |
| One day exposure! |
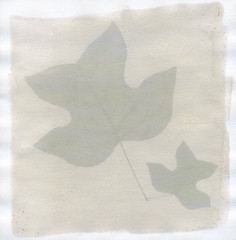
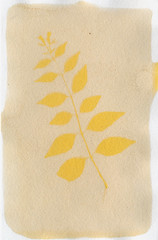
The problem with turmeric used by itself is that the resulting image is so yellow that it's hard to see. A slight hue shift in post-processing can make the image dramatically better simply by reducing the amount of yellow by about 10%, moving it to a more orangey hue. The same result can be achieved in the anthotype itself simply by including about 30% sandalwood in the mixture, or a light coat of blackberry juice on top of the turmeric.
 |
| 10% more orange |
Blackberry juice with lots of alcohol (about a 2:1 alcohol to juice mix) is, as I've mentioned before, green. This green dye produces a very fast exposure; I got a perfect exposure with visible detail like leaf veins in just one day of bright light. One day. That's mind-blowing for anthotypes.
Wednesday, August 1, 2012
Confounding Condensation
 |
| First! |
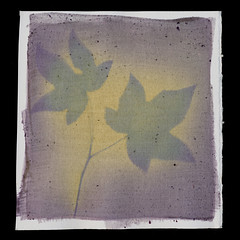
So, I'm fairly sure there are two culprits:
The original anthotypes were exposed outside, in the direct heat of the scorching Southern sun.
They were not in picture frames, but smooshed between two plates of acrylic, allowing air flow.
 |
| No halo. |
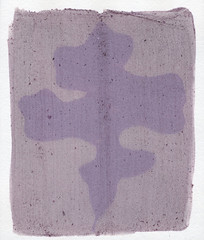
I tried putting my picture frames outside, but no dice. I tried using two plates of acrylic inside, no dice. I think it needs both the airflow of an open frame and the blazing heat of the sun to produce the results I want. I will be trying this soon! I'm especially hopeful because another recent experiment with silk dyed in madder-root produced a moisture halo.
Oh, that's right, I never mentioned that test result. Why? It sucked. Maybe I picked a bad plant, because the leaf I used ended up virtually transparent by the end of the seven day exposure. Transparent leaf means there wasn't any light-blockage and the resulting image is almost invisible. Plus, the madder root stubbornly refuses to give me a good color. Also, it's transformed into a mess of green-brown-white fuzz.
I think I'm done with madder root for the time being, it hasn't been of any appreciable use yet. Maybe when I get around to my next project, where I buy raw wood and felt it down into my own hand-made cloth, then dye the cloth and make anthotypes on THAT... then I might use the madder root. Maybe. Probably not.
Tuesday, July 24, 2012
Blackberry Booze Surprise
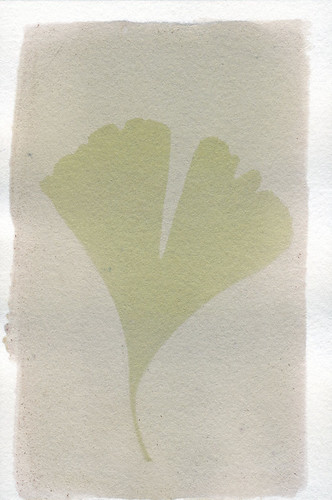
There was enough of the blackberry puree to split in half: one batch is about 2 parts blackberry to one part rubbing alcohol, the other is the inverse. The blackberry-heavy solution produced expected colors: deep blue-violets that are standing up pretty well to light. I expect long exposure times on those tests.
An alcohol-heavy solution, however, proved surprising. The dye is green, as you can see in the test to the left. Much like the alcohol-heavy batches of sandalwood and turmeric dyes, it reacted much faster to light. A three day exposure produced the example seen here. I'll be trying another for five days fairly soon, just to see if I can get some better contrast.
The blackberry-heavy solutions are still exposing.
Monday, July 9, 2012
Alcohol Makes Things Better! Sometimes.
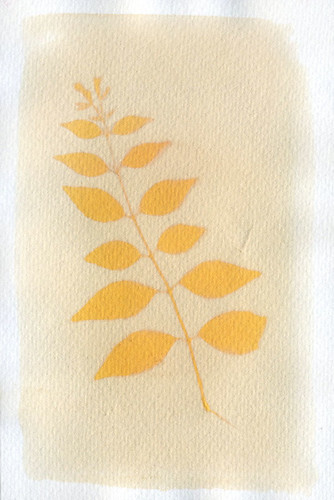 |
| Test #2, Sandalwood. |
These anthotypes were all printed using a much, much greater amount of alcohol than normal. Up till now, I've simply poured a small amount of the powder or what-have-you into a bowl and added just enough alcohol to make the mixture liquid and paintable. This time, I added a buttload of alcohol to the powder in a mason jar, attempting to reach the saturation point instead of heavily over-saturating the mixture. Why? Because I was tired of wasting pigment when the alcohol evaporated off and left me with a dust-covered sheet of paper.
The results so far:
Test #1: Mixture of turmeric and sandalwood. This is the most disappointing of the tests. It may be due to being pulled early, but when I checked it after two days, the field had bleached almost totally away. Problem being, the image itself isn't very visible either. May be the result of the turmeric's characteristic eye-burning-yellow color, when hue-shifted in Photoshop, the image is much more visible, but still not the best.
Test #2: Pure sandalwood, an extremely successful result. Three day exposure gave me a faintly visible pale orange field and a moderately bright image. A 10% bump in the darkness levels with Photoshop got me a nice, dramatic image with a pleasant color. Much better than the burnt-orange-red of high-concentration sandalwood which is almost as hard to see and enjoy as pure turmeric. The high levels of alcohol really shine with sandalwood, it seems.
Test #3: Another pure sandalwood. Virtually identical results as with Test #2, but this one has a darker spot in the center of it. I sat the paper on top of a water bottle to dry, and apparently the cap of the water bottle left a darker area for some reason. Somewhat annoyed. Image integrity very nice, though.
Test #4: Pure turmeric with high alcohol. Not a bad image result, though as with most turmeric images, it benefits from a hue-shift towards orange. The hue-shift makes the image stand out more and reduces the burn on your retinas from staring at the collected essence of the color Yellow. Boring composition makes me hate it, though.
Still waiting on Tests #5 and 6. Planning to give them two more days of exposure.
Test #5 is a boiled blackberry dye, with increased alcohol content to prevent spoilage of the berry juice. The juice at this point is nearly a year old and should probably be thrown out, but the aged juice has a very different color profile than fresh, so I'm hanging onto it. Smells funny.
Test #6 is a double-coated mixture, one layer of boiled blackberry, another of sandalwood. The resulting field color is a reddish-orange instead of the pure orange of sandalwood or the dull violet of boiled blackberry. The leaves used in this anthotype (virginia creeper) have begun to desiccate and shrink. Not happy about that, because it'll give me fuzzy edges on the image. Waiting to see final results before declaring total hatred, though.
EDIT: Ah-hah! I forgot one! There's another test currently in the works. I had a square of heavy linen soaking in boiled madder-root dye. Instead of following all the proper madder-root procedures, I just ground up the roots and tossed them into a pot of boiling water for a few hours, and collected my pretty red water. The linen soaked in it for ~24 hours and is now exposing. Should be ready in another week. I like to give fabric anthotypes a long, long exposure time.
Thursday, July 5, 2012
New I-lumen-ation!
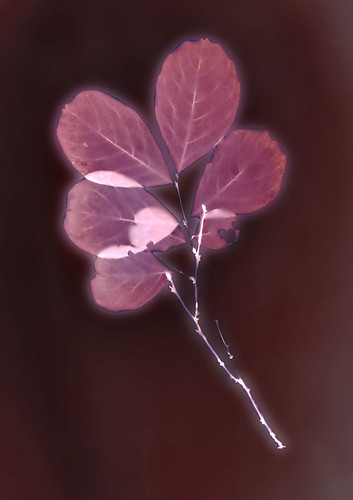 |
| Test #1, Crepe Myrtle |
So far, in both my tests, the Polycontrast has produced a brown-red background with violet-maroon images, VERY pretty. One print, left out in light after exposure, has darkened to a blue-violet in the image, with an almost black field.
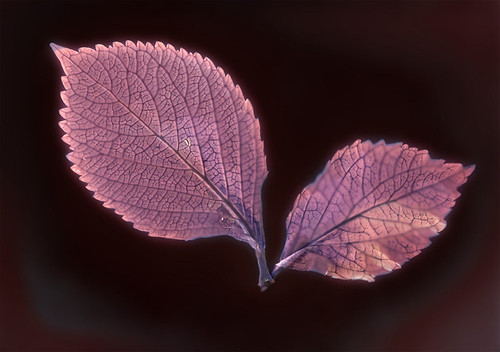 |
| Test #2, Hydrangea |
My scanner isn't doing a very good job of capturing these lumens acurately. I may need to buy a new one; there's some kind of horrible, streaky residue that seems to be between the two sheets of glass that make up the scan-plate. I've cleaned both sides of the scan-plate, but the residue remains the same. The scanner hasn't got any problems capturing my cyanovellums or anthotypes, the residue only shows up when scanning the large, blank backgrounds of the lumen prints. It's very distressing. I may need to start imaging them with a camera.
It's Been A Long Time
 |
| Test #4, most successful test! |
 |
| Test #1 |
- No color shifts, but the bleaching turned the dark blue a mottled cyan-green, with large patched bleached almost fully away. The original image retained its blue color, but was rendered visible where previously it had been almost hidden.
- The 'field' of the image turned a brilliant orange, and the image itself bleached fully out, leaving semi-translucent vellum without any coloration at all.
- The 'field' turned orange as with the previous test, but the image itself retained a blue-gray coloration, a very nice contrast.
- Results identical to #3
I haven't figured out what causes the difference between 1, 2 and 3/4. Oddly, 3 and 4 were bleached the longest, each one soaking for at least 8 hours. I would have expected them to leave no trace of blue at all, but they were the only ones to hold the blue color. Very odd.
 |
| Test #3 |
To make SuperTea! I brewed 8 family-sized bags of Wal-mart brand Black Tea in 2 cups of water for 5 minutes in the microwave and let the tea steep for two hours. I then squeezed the bags to get any extra liquid out of them. The SuperTea had evaporated down to about 16 oz of liquid by this point.
 |
| Test #1: post-borax and post-super tea |
I allowed Test #1 to soak in the SuperTea! for about two hours. The vellum stained heavily, but the image redeveloped about as expected. It's now a very dark blue-black, with the image a more mild tan. No reddish color shift as experienced with cyanotypes that have this process applied when printed on paper.
I've got lots more work ahead with my cyanovellums, but at the moment most of my frames are taken up with six new Anthotypes that'll be cooking for the next week! So excited to see the results!
Subscribe to:
Posts (Atom)