Showing posts with label Instagram. Show all posts

Thursday, April 14, 2016

Blogging for Thor: The Shape of Things to Come

Silver Geometry Print #2: Silver Nitrate and Cyanotype
Hello, my lovely Spiders! I'm doing very well; I hope you are, too? Great.

Last week, I talked about beginning a new project. For the moment, I'm calling it "Silver Geometry" but that's likely to change since I've already made at least one image without any silver in it at all.

Step-by-step for
Silver Geometry #1
The biggest challenge so far is the fixed 2 day exposure time. With such a long exposure, the d-max of some chemicals is reached too quickly. If I want to preserve the colors created various levels of exposure, I need to work more quickly and then cover the area with an opaque block.

My first experiment using cyanotype and potassium dichromate provided a sad example of this kind of d-max failure. I was attempting to add rectangular areas of reduced exposure to the circle-based chemigram, but even leaving the opaque rectangles in place for 6-8 hours at a time, the exposure equalized so rapidly that no trace remains in the final image. There should have been four lighter areas intruding into the circular pattern. They're gone.

If I want to continue using faster-reacting chemicals like cyanotype and dichromate, it appears I'll have to create a color with varied exposure, get it to whatever tonality I want, then "seal" it by placing the opaque shape back over that area for the rest of the exposure.

There is good news, though! The first image worked out wonderfully and the
third image came out nicely, too. The third image hasn't got very strong shadows from the paper and tinfoil triangles I used, but it was enough to make faint impressions in the silver rectangle on the right, and to create a gradient in the uppermost cyanotype stripe.

The second two prints also showed the rather lovely potential from painting the chemicals next to each other, and allowing them to overlap and mix. I'm in love with what's happening on the third image where the silver nitrate and cyanotype solutions mixed together.

In the future, I'm going to be incorporating kallitype chemistry, possibly some toners, and experimenting with painting different salts onto the page to alter the color of the silver nitrate stains. This project is looking so fun, Spiders!

I'll be using Instagram to document the progress and layout of each print as I move through the stages of designing the geometric drawing, painting the chemistry onto the paper, setting up the photogram objects and then moving them around during the exposure. So if you want to follow me for updates, that'd be pretty awesome. I love seeing Spiders on social media!

Thursday, March 19, 2015

Blogging for Thor: Milestones

Go Lesley University Lynxes! Apparently?
Hello there, Spiders. You recall how I've been complaining about graduate school? Well, now I have a new complaint: Boston is expensive as hell! Why does this matter? This matters because I've been accepted to the MFA program at Lesley University. I'll get to study with Christopher James, Dan Estabrook and some amazing fellow graduate students.

When I got the news on Monday, I had to sit down for a bit. In 2013, I applied to two schools and was rejected. The same thing happened (at two new places). It was through the Facebook Alternative Photographic Processes group that I learned of Lesley's program. Christopher James, who I can't stress enough, is the guy that wrote the book on alternative processes, suggested that my work seemed like a good fit for Lesley. He was supportive and encouraging during my application process and I'm so happy to be headed up to the north this Fall.

Now I just have to find a place to live up there, and a way to pay for everything. That's going to be a whole new series of challenges. Sure hoping that Senator Warren manages to pass some of those student loan reform bills she keeps yelling about! Go, Warren, go!

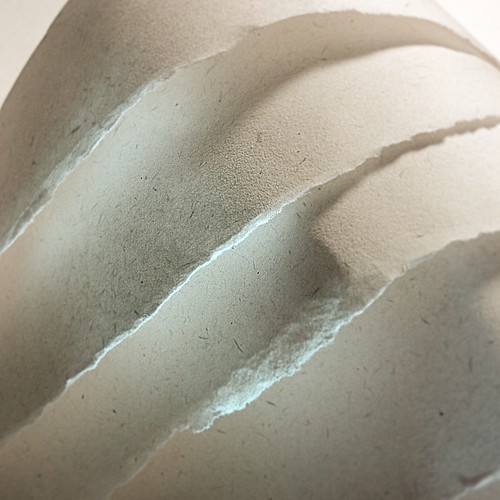
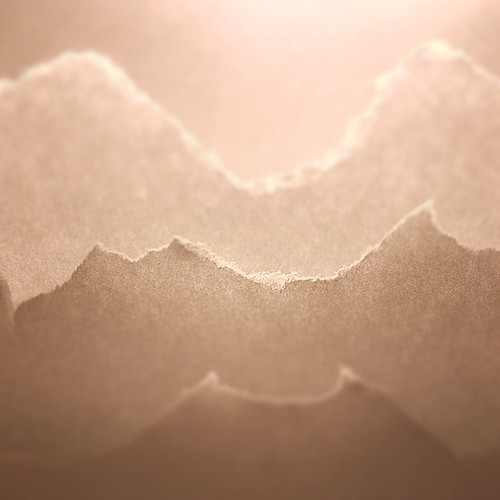
What else is there to report, my Spiders? Well, not much amazing. But I did recently break 150 entries in my Folded Paper Project (Flickr) that I've been working on using Instagram. That's 150 solid (ok, mostly solid) days of abstract paper photos. I'm pretty impressed with me!

Cheers, Spiders! I'll see you all next week!

Friday, December 19, 2014

Blogging for Freya: The Little Things

Poinsettia leaf under the microscope stand
It's been an exhausting week, Spiders. My dog had emergency surgery and his recovery is not going well. I found out that I didn't get a job I was really hoping to have for next semester. I'm still waiting to hear back about a grant for 2015, and I haven't heard anything from the admissions people at one of the graduate programs I want to apply for in the fall. It's just not been a great time lately.

But, I have still been working. For my birthday, my family helped me put together a microscope platform for my cell phone. It's a cool little project that I found on IFLS. The original video and instructions are available on Instructables. There are some limitations, and it certainly cost more than $10. It was about $30, total, though some of that was because I had to use alternate parts, and needed some springs to help stabilize the specimen stage. Still, $10 isn't a good estimate for this project.

Keep in mind that I'm saying it was $30 to build a microscope for my cell phone. That's pretty nifty. Yes, you can buy cheap digital microscopes for about $40, and there is actually a purpose-designed cell phone attachment for $15. This set up is fairly customizable, and you can add or substitute lenses for different effects. So, I'm fairly pleased with the concept. The results.. eh.

The platform, with slides.
A big issue with high magnification, using any format at all, is focal distance and focal length. The subject needs to be right up next to the lens to be seen, and your depth of field is practically two dimensional. We're talking way under a millimeter for this set up. I can focus on the top of a cube of loose salt, but not the entire cube. Yeah, I can't get a whole grain of salt in focus. It's too big. So that is a consideration, certainly.

The lens I used, stolen from a $2 laser pointer, is a bit smaller than the lens of my cell phone, meaning I only have a limited field of view. The edges of the laser-lens is visible in the cell phone images, causing extreme vignetting. Maybe the center 30% of the final photo is in focus. Zooming in at all causes severe distortion and pixellation. You can see that in the photo of the text from a US quarter, over on my Instagram. I've been tagging all the photos with this rig as #cellphonemicroscope.

It is theoretically possible to stack lenses for greater magnification, which actually allows plant cells to become visible. I haven't tried that myself, but all the issues with depth of field, vignetting and focus would be doubled along with the magnification. I really doubt the final result is worth the trouble, but I may experiment with it later.

Generally, I think this was a fun project, and I do enjoy playing around with it. I'm glad my family helped me put the stand together, and it made for a great birthday present. The image results aren't anything to write home about, at least not yet. It's certainly worth exploration, though.

Friday, October 24, 2014

Blogging for Freya: Folding Paper

Folded Paper Project, Day 4
I've been working on a side project recently, Spiders. While attending SPESE-2014 I attended a lecture by Aline Smithson, the founder of the Lenscratch photo blog. She was talking about, among other things, about how she started her blog and how it's become one of the most popular and well-trafficked photography blogs online. She decided early on that she was going to write about a different photographer every day.

As you know, Spiders, I struggle to post a blog entry about any topic at all on a weekly basis. The idea of researching and featuring a different photographer every single day blows me away.

No, of course that doesn't mean I'm going to start posting more often. That's silly.

Still, the idea got lodged in my brain along with other things from the conference and from recent events. Finally getting an Instagram account, as I mentioned on Monday, was one such thing. It was largely motivated by the idea of getting my work "out there" via another outlet and potentially reaching other people interested in what I do. Another thing that was rolling around in my brain was the sheer amount of work being produced by some artists I keep in touch with, like Joshua White and John Fobes. I was also struggling with constantly trying to convince my students that, yes, they can make amazing photos and no, they do not have to go anywhere to do it. They can make interesting compositions right at their desks!
Folded Paper Project, Day 3

Those many things came together and I decided to start a new series: the Folded Paper Project. I started off with some rules for myself.

1) Take a new photo every day, using Instagram
2) Shoot only torn, cut or folded printer paper
3) Use only household light sources
4) Apply identical in-app adjustments to each photo

The most "advanced" tool I've used in the project so far is sticky poster tac to hold bits of paper in place for me, and a plastic ice cream bucket to act as a diffusion surface.

So far, the project has been quite fun. I haven't missed a single day yet, though for the Folded Paper Project, I'm measuring "day" by my sleep cycle rather than the 24-hour calendar. So if I don't get to the image until 2 AM, that's fine, because I haven't gone to bed and woken up the next morning yet! Honestly, Spiders, I think that is pretty much how I treat this blog, except I really do try to get it done on Thursdays so I can stop angering Thor. I just keep missing that deadline.

If you want to follow the Folded Paper Project, I'm keeping it tracked via Flickr as well as on Instagram!

Monday, October 20, 2014

Inspiration and Illumination via Instagram

All the elements assembled for shooting
Instagram is great! Since I started using it, I've been doing tons better at documenting my processes and experiments. It's so much easier just to use my phone to Instagram small set-ups and examples rather than to have to get lights set up, pull out the DSLR, deal with Camera RAW files and all the other mess that comes from a "proper" shoot.

The difference in results isn't that dramatic, either. Not to say there isn't one, but for my primary purposes (this blog), I don't need huge, high-res images of my process. Now, if I ever get around to assembling that Anthotype book I keep talking about (you know the one, Spiders...) then I will have to do process documentation shooting with a real camera. Ditto for the Lumen Folio. For now, though, Instagram is where it's at. Spiders, did you know you can even get people interested in your work via Instagram?

Shoot in progress!
My Instagram hero is Joshua White, a professor up at App State in Boone. His entire current body of work, A Photographic Survey of the American Yard, was created on Instagram and is displayed on his account. With simple rules, minimal equipment and a straight-forward procedure, he creates gorgeous pieces of work. On Instagram. With an iPhone. So that's awesome. So far he's been featured by Instagram itself, in articles on Wired.com, Mother Nature Network, Fstoppers, Gizmodo, FeatureShoot, and probably other places! He's Instagram-famous, and it's really cool.

I actually took inspiration from Joshua when figuring out how to document my Plastron Prints and my Cyanotags (another project that I'll blog about soon!) for viewing. The photos here today are showing how that documentation works. It's really simple, Spiders.

The finished result, via Flickr!
There isn't much you need to do shadowless, floating documentation of small objects.  A shaded, outdoor space to shoot in is the most basic. Then get a piece of cardboard, or foamboard, or a corkboard.. anything pins will go into but not back out of easily. If the board you're using isn't the right color and/or texture, then add a sheet of paper or other covering to make it the right color and/or texture. Then just get yourself 1-3 pins, and some sticky poster-tack or soft wax. Then you can adhere the object onto the pin(s), holding it off the surface of the paper-covered board. That distances the object from the background, reducing any shadows not already removed by using the diffuse light of an outdoor, shaded shooting area.

Your end result should be a very clean image, as shown in Joshua's series and my latest images on Flickr. The images I posted earlier, on Instagram, used the same ideas, but I shot them inside, using desk lamps. That created shadows. So when I wanted larger, clearer images (using a DSLR and a macro lens), I took my set-up outside! The results from outside were much better.

Sunday, October 19, 2014

Printing on Plastron Pieces

The best plastron print obtained so far
I've been getting better results from my latest experiments with printing on turtle shell fragments. I'm calling them my "Plastron Prints" even though not all the bits of shell are actually from the plastron. I just happen to like alliterative appellations.

There have been three new prints on larger pieces of shell, all fairly successful. In each case, the chemistry displayed the same odd behavior that I was puzzling over in the last entry. By the time each one was dry, it had turned extremely dark and a blueish-green-yellow far from the ordinary color expected of unexposed chemistry. I went ahead with the printing, despite the discoloration.

The bones don't look like they're exposing properly, but they do come out pretty much spot-on. Directly after the exposure it isn't easy to be sure what the final result will actually be. It takes a peroxide bath and a complete drying cycle before the image is plainly visible, but eventually they look like the one displayed here.

Dandelion plastron print
As a side note, I've found a way to accelerate drying of these bone prints: a toaster oven. I dry my bone prints on a sheet of parchment paper in the toaster oven. I run them at 180° F, in 15 minute cycles. Generally a single cycle is enough to dry the bones, but sometimes I run a second cycle just to be extra sure. There has been a slight issue with the high temperature melting any residue scale left on the bone, but this is actually a bonus for me. I want that stuff gone anyway, and if it melts off, that's fine. It turns into brown goo that I can scrub away with a bit of effort, instead of having to sand it off with a lot of effort.

My last experiment was trying to reclaim some of the earlier pieces that I discarded as ruined by the chemical exposure. Now, having learned what I have from these last three pieces, I actually feel certain I could have exposed those earlier pieces and gotten results. I was just too put off by their odd initial appearance to try. So far, I only have one result from this new experiment, and it isn't quite what I wanted, but it is encouraging. I soaked the discarded fragments from the first run of coating in a strong soda ash solution to bleach away the blue. Once they were completely bleached, I washed them twice and allowed them to soak overnight in clean water to remove any trace of the chemistry. Then, after two drying cycles in the toaster oven, I re-coated the shell fragments in new chemistry.

First re-coated plastron print
The first result is, as I noted, encouraging. It has a distinct image visible, even if the coating of blue is a bit patchy. I'll be doing more of these to see what I can get with better, more even coating.

As always, the entire series of experiments can be viewed on Flickr or Instagram.

Thursday, October 16, 2014

Blogging for Thor: Fragmentary Fizzle

Two weeks ago, I was musing about the idea of printing on small bits of bone. I was able to acquire some fragments of turtle shell (and two whole turtle shells!) from Etsy. Since then, I've been experimenting, trying to print onto the shell fragments. It has not been easy.

The biggest problem I've run into is the chemistry turning blue far, far too quickly and without light. Currently, my thinking is that these shell fragments were cleaned with bleach, peroxide or some other chemical that is reacting with the cyanotype material. I first coated 10 fragments of bone, right out of the package they arrived in. I didn't think this would be a problem because I coated the previous bones all without washing or cleaning. There were three successes from that first group of 10.

The successes aren't as high-contrast as I'd like, but they are clear, visible outlines of the small bittercress leaves used to make them. After the first batch of failures, I washed the bones carefully and soaked them in water for a few hours before drying them in sunlight. I coated three more pieces,
but I was a bit too cautious. With only one coat of chemistry, the largest fragment shows a distinct image, but the blue is very weak. The other two from the second round started darkening before exposure, though I believe they may have worked if I hadn't simply forgotten about them and let them sit in bright light for too long. I may be able to use the reverse sides of some of this second round, and even one of the first round.

Today I tried applying a coat of clear acrylic matte sealant to the bone, hoping to provide a surface for the chemistry to adhere to that would not contaminate the chemistry with anything lingering in the bones. Unfortunately, the chemistry slid right off the sealant, even after sanding to roughen the surface. No go on that plan. The reverse side is still sealant-free, so I'm using that for the next experiment.

Now I'm trying to coat the underside of the sealant test piece and carefully monitoring it between coats, allowing each coat to get at least partially dry before applying a new one. So far there is minimal darkening of the coats.

Before any spiders ask, yes, I've tested the chemistry itself. I coated some scrap sheets of mat board and paper, then let them dry in the same conditions as I dried the coated shell fragments. They worked just fine. No darkening, no discoloration. It's specifically something about the shell fragments. Again, this was not a concern with the earlier bones or antlers.

As simple as deer bone and antler was to work with, I'm really surprised how hard these turtle shell fragments have been to print on. I was not expecting these problems, and now trying to track down the exact cause is rather frustrating. The successful pieces (currently 4) are encouraging, though, and I'm going to continue. The only problem is that I only had 20 fragments and so far, I've gone through all but 6. I'm quickly running low on fragments to experiment with.

I'm going to try separating the plastrons from the two complete turtle shells I have and breaking them into smaller pieces. Then I can coat the upper shells for single, large images and use the plastrons, which otherwise would not be visible with the shells hanging on a wall, in another project.

Here's hoping that I'm eventually able to work this out. I still have the goal of turning these tiny bone prints into jewelry. All these problems have made me worry about how well the whole shells are going to work. I only have the two of them and getting them wasn't exactly dirt cheap. Not too terrible, about $10 each, but for someone on my shoestring budget, that's not a willy-nilly purchase.

To view all the successful bone prints, check my Flickr or Instagram!


Thursday, August 28, 2014

Blogging for Thor: Dem Blue Bones

Shoulder #1 -- My first real success at printing on bone!
Hello, spiders! Exciting news!! I've been meaning to try printing cyanotypes on bone for a fairly long time, but it was only within the last week that I finally got some appropriate bones. One of my friends goes hunting with his family, and they just toss the bones and other scraps in the woods for scavengers. He was kind enough to go digging around the woods where they drop the bones and found me three scapulae and half of a femur. The results are very encouraging, and I'm hoping to get more bones to print in the future.

In addition to the bones, I also had a single deer antler to test out. Last semester, one of my students offered me some antlers that she was using in a biology experiment. She'd taken core samples from them to do analysis on, leaving most of the antler perfectly intact. She didn't need the remainder, so she gave me several antlers that I could test on. I coated one of them months ago, but never got around to exposing it until this week. There are more antlers, hiding somewhere... I'll have to track them down eventually.

In-Progress Author's Note: Whew! This post is ending up a lot longer than I expected, and it doesn't even have any pictures added yet! I'm breaking it into sections. Don't worry my Spiders, I just said sections, not different posts.

Cleaning the Bones
This is actually something I'm more worried about in the future than something I had to deal with in these tests. The bones given to me were weeks or months old and had been laying out in the woods. Scavengers and nature had already done the cleaning for me. If you end up having to clean your own bones from something fresher, like a Thanksgiving turkey, then this guide might be helpful. It's written by some awesome little kid that loves collecting skeletons. Rock on, creepy little dude.

Seriously, listen to him when he says stuff stinks. I was foolish enough to try boiling some turkey bones from a Thanksgiving turkey (what, you thought that was a random example?) a few years ago and my entire apartment stank for days. Never again. Next time, I'm stuffing the bones in a bag, tying the bag in a tree and letting nature have at it.

Coating the Bones
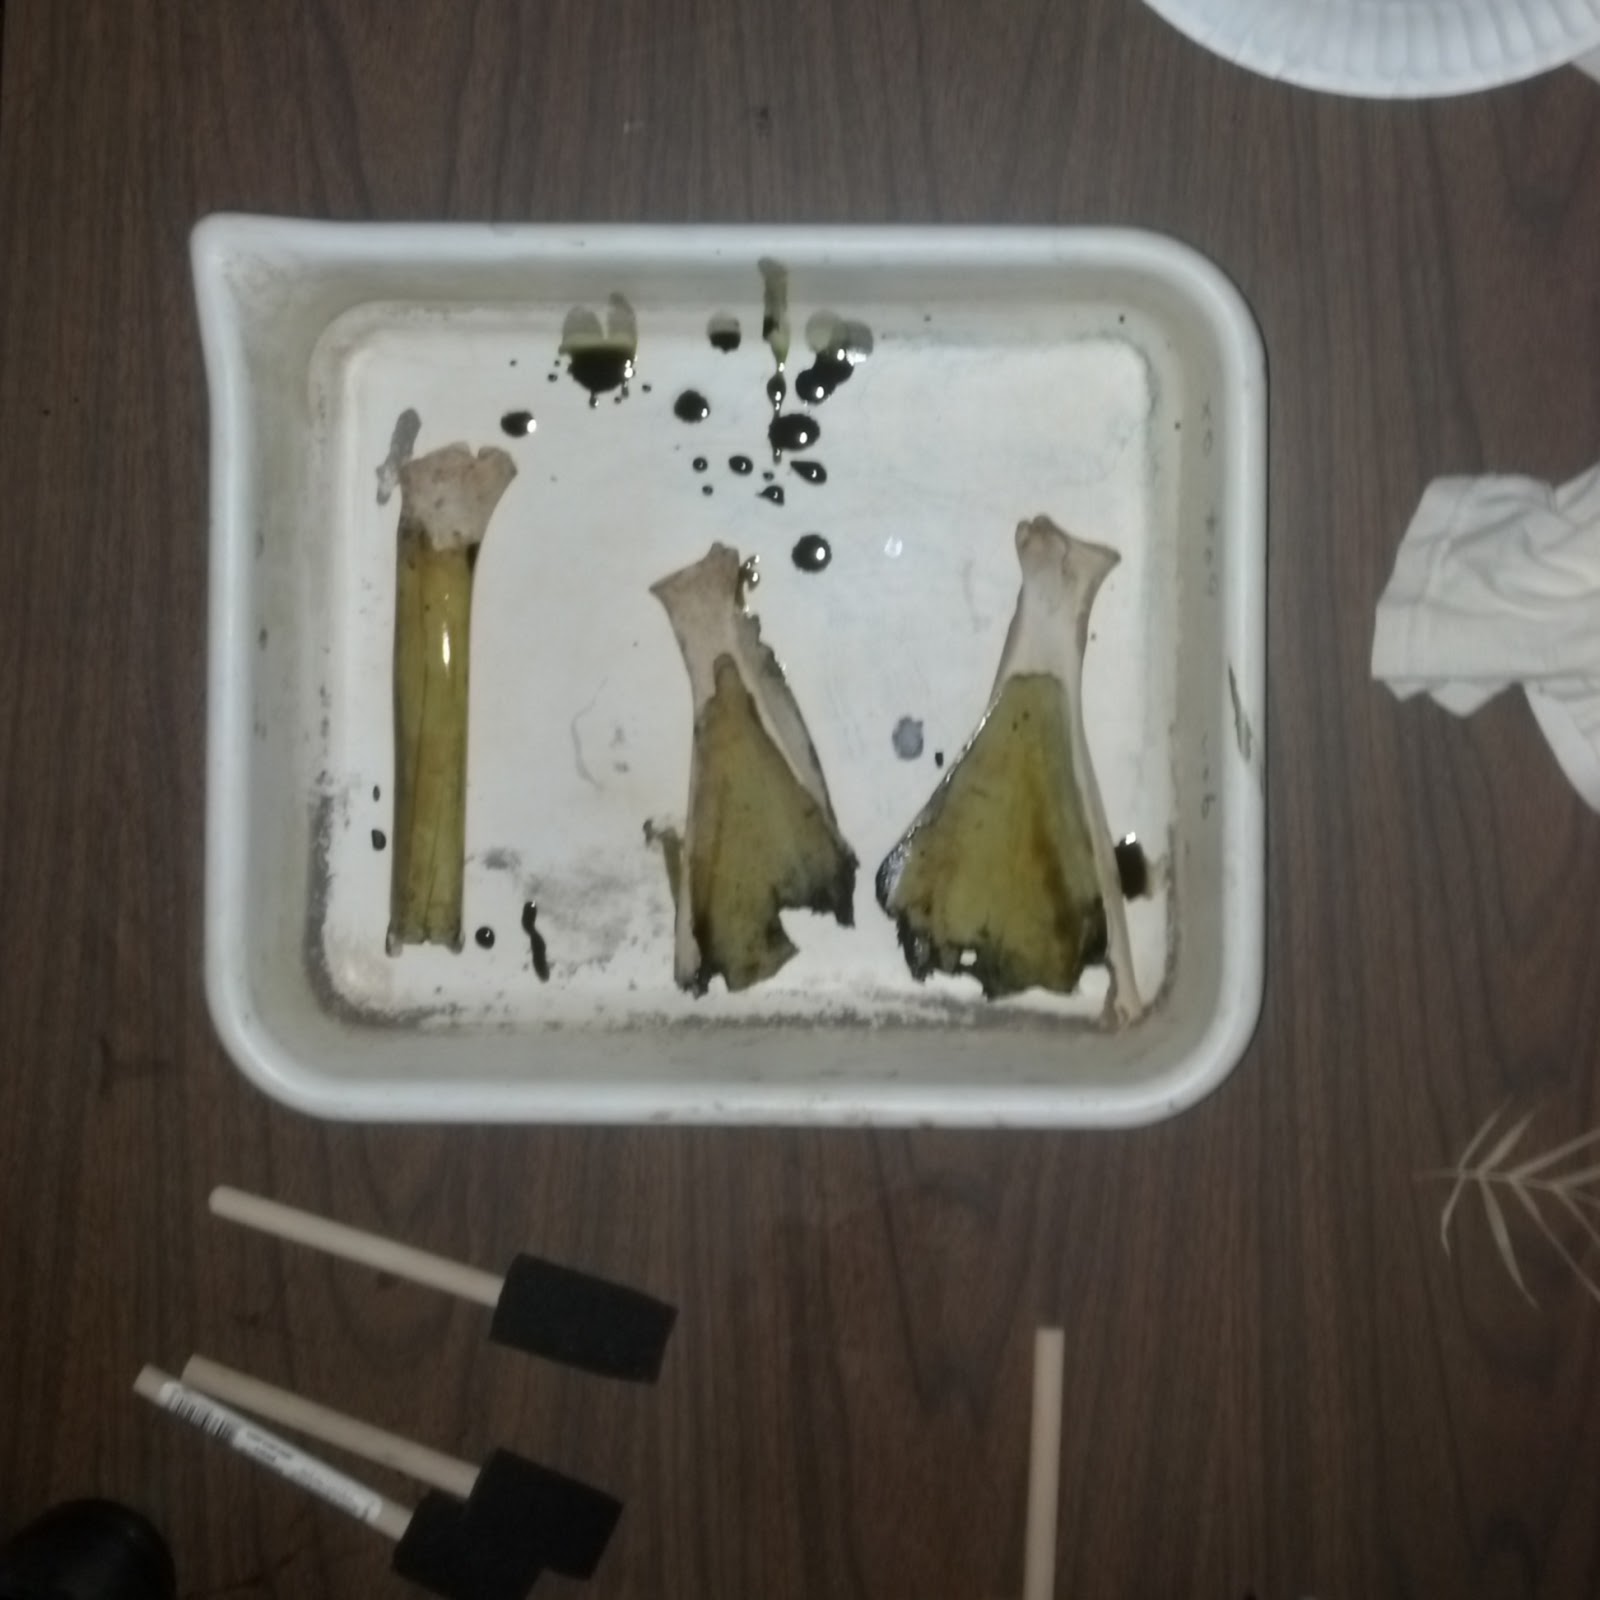
Coating is messy work.

The antler coated much more easily than the bones, but both surfaces required several coats of chemistry to achieve a decent stain. Even though bone's theoretically porous, the surface is not very absorbent. Coating took a good while, since I allowed each coat to dry partially before applying the next one.

As I said, I coated the antler months ago, so I don't remember precisely how long I waited between coats, or even how many I applied. I do remember it was several, though. It was kept in a dark box, sitting on a metal grate, so it could dry thoroughly. A few days of drying turned into months because I just couldn't figure out what to print on it. I'm still not super happy with the antler, but at least I know the general theory works, if I can find the rest of the antlers from that bag. I've put them somewhere in my lab and just can't figure out where. Don't you hate when you misplace body parts, Spiders?

On the first scapula, pictured at the top of this entry, I applied several coats of chemistry, allowing each one to soak in as much as possible before adding new liquid. The first few coats were allowed to set overnight, then I added some more the next morning before finally exposing the bone to sunlight. I'm not sure if it was just the sheer amount of chemistry applied to that first scapula, or if it was allowing a longer drying period, but the  the color on it is much deeper and truer than the later tests.

The other two scapulae and the femur got fewer coats and less drying time. I'm not nearly as pleased with them, so next time, I'll be more patient and more generous with the chemistry. Still, they're perfectly acceptable results, just not as really nice as the first one.

I also tried soaking a knuckle bone in cyanotype chemistry (one good soak for about 2-3 minutes of sloshing and swirling) but that didn't come out at all. The rounded shape did not prove very easy to adhere a plant to, so the image is almost invisible. A majority of the blue color also washed right out of the bone, leaving only a dingy blue-grey. Not real happy with either the color or the image, so I'm probably not going to be doing much more with the rest of the ankle, knuckle and joint bones I have.

Printing the Bones
Packing tape to the rescue!
The biggest challenge of printing on a substrate like bone is getting, and keeping, tight contact between the object used in the print and the surface of the bone. Bones aren't flat, and even if I could balance a sheet of glass on them somehow, pressing down with a solid object wouldn't give me good contact. So, after very little thought or consideration, I used clear packing tape to hold the leaves in place against the bones. It seems to have worked rather spectacularly well on the mostly-flat bones, and even on the antlers. The packing tape did not work well on the almost-round knuckle bone, but I don't think anything could have.

This just didn't work.
In the second set of bones, I ran into a small problem with the tape. Using a fresh leaf created a kind of miniature green house effect, where the moisture that sweated out of the leaf beaded and gathered under the tape. The evaporated moisture created a small bubble and made the tape lose a lot of stickyness. I lost a bit of contact and got some image fuzz as a result. In the future, I'll stick to dried plants for bone prints.

After taping the bones up, I exposed them for a few hours. About 2 for the first set (the antler and the first scapula), then I went up to 4 hours for the second set (femur, other two scapulae and the knuckle). Again, despite a much longer exposure the second set was never as bright or deep a blue as the first set. Coating was the issue there, not exposure. Both sets were out in direct, bright, hot sunlight.

Washing the Bones
I just dumped the exposed bones into a big tub of water and let them soak for about an hour. Afterwards, I hit them with a bit of hydrogen peroxide. The first scapula reacted fairly well to the hydrogen peroxide, forming the intense blue color seen in the photo, but none of the other bones showed any reaction at all to it. Their blues did become slightly darker and more true after drying was complete, but overall they look much the same as they did once washing was complete.

As a warning for any Spiders that want to do their own cyanotype bones, you are generally not going to get any kind of idea what the final result is going to look like just by looking at the unwashed bones. The washing and a nice long soak is necessary to allow the image to develop, much moreso than for a traditional cyanotype.

Shoulder #2 -- Second success!
Drying the Bones
I honestly didn't have to do much drying or final cleaning. It's been so hot here lately (90s and up) that I just left everything outside in the blazing sun for a few hours. They're ...heheh... bone dry now, and looking great. There's a tiny bit of tendon left on one scapula, but it doesn't smell at all, so I'm not going to mess with it.

There you have it, Spiders. It's entirely possible to print cyanotype images onto bone and horn. It's not even that hard! You can find more photos of the bones and antler prints on my Instagram (I have an Instagram now!) and, soon, on my Flickr.