 The Spot-Healing brush is awesome at spotting. That's what it's for, after all. However, if you have a lot of really tiny dust, it's a pain. There's the Dust &Scratches filter, which is great, but it has the downside of also removing detail. So for a long time, I combined both of them. I ran a fairly low-powered Dust & Scratches filter across the entire print, then cleaned up the big stuff with Spot-Healing. Pretty simple, if extremely time-consuming. The biggest issue was that, even at low power, the Dust & Scratches filter still removes detail. It's especially nasty if you're printing on a textured surface and want to retain details of that surface tooth, because that's one of the easiest things to loose.
 This technique saved me at least an hour tonight, and the results are hands down better than the way I did things before. No lost detail! No having to make tricky masks to restore the detail lost to Dust & Scratches. It's Dust & Scratches that only effects dust!!!
I'm pretty excited, can you tell? CAN YOU, SPIDERS?! Eeee!
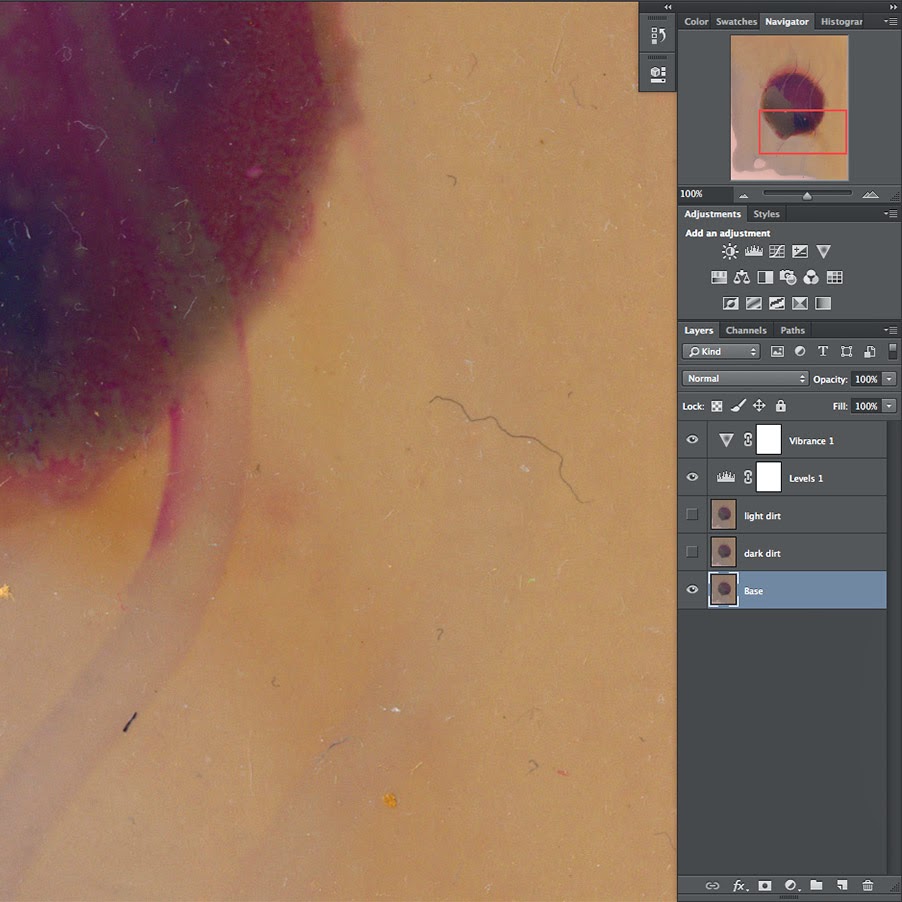
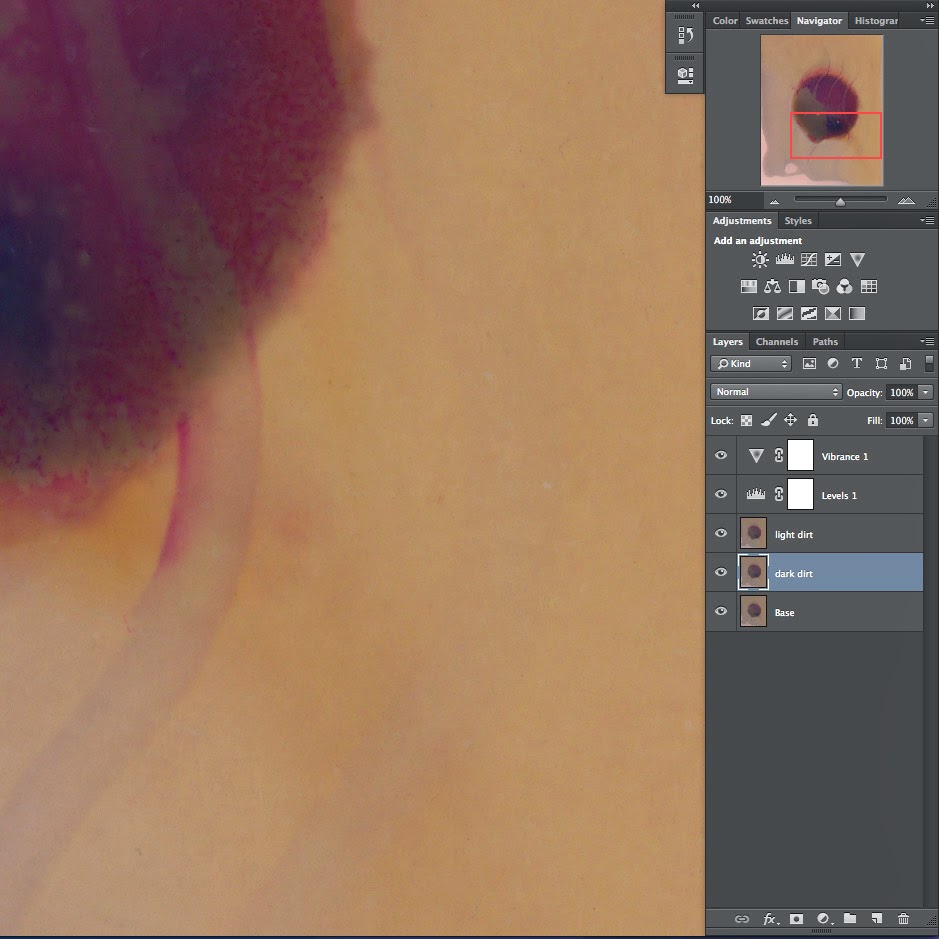
UPDATE: I added pictures! You'll see that I have two dust-removal layers in this example: one is the Darker-Only Dust & Scratches copy and the second is a regular Dust & Scratches copy. That's because I hate doing repair work on my original layer, just in case I make a mistake. I also came across a pretty simple extra step.
You see, if you just do a Darker-Only layer, then a dark dust layer, you have a few nagging spots left over where the Darker-Only Dust & Scratches (DODS!) is still showing that dark dust. This happens because your DODS layer is on top of your DDL (dark dust layer) and if you Spot-Heal away the dust on DDL, you can still see whatever was there on the earlier-created DODS layer. Here are the steps I follow in this dust-removal scheme.
Step 1: Open file.You should now be left with three layers: your second DODS on top, DDL in the middle and Background on the bottom. Theoretically you could save a few steps by creating the DDL and doing all the dark dust Spot Healing first, but I found it much easier to create the initial DODS layer just so that while cleaning up my dark dust on the DDL, I had less distraction. The photo was already so much cleaner from creating the initial DODS layer that it was much easier to identify and remove the dark dust. It only adds an extra few clicks and a few seconds to your time. Still, there's no reason you can't eliminate steps 2 and 3 from my list.
Step 2: Duplicate Background layer to create your first DODS layer.
Step 3: Run the Dust & Scratches filter at low power (generally Radius 2-3, Threshold 1) on your first DODS layer.
Step 4: Duplicate the Background layer again, creating your DDL (dark dust layer).
Step 5: Spot Heal away all the dark dust on the DDL.
Step 6: Duplicate the DDL to create your second DODS layer.
Step 7: Run the Dust & Scratches filter at low power (generally Radius 2-3, Threshold 1) on your second DODS layer.
Step 8: Delete your first DODS layer.
I hope this helps someone else out! All that time spotting is time you could be printing! Or playing games. Or whittling. Or whatever.
No comments:
Post a Comment