But! I've got free time during the summer, lots of light and excess brain-juice so I might as well art, am I right? I am. So for today, we're going to talk about...
How To Coat Your Anthotype Paper!
There are basically two ways to coat substrates for an anthotype: brush the dye on, or soak the substrate in the dye. There are pro's and con's of both!
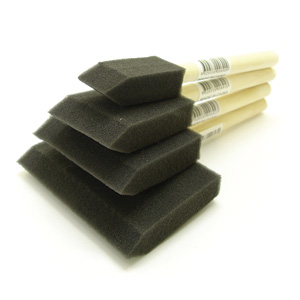
Brushing: This is probably going to be your default method of coating. It's easier to control, it's gets the dye on faster, it dries faster and it's cleaner. It also allows you to decide if you want to leave a border on your paper instead of having the color cover the whole sheet. I suggest using a foam brush, but some people enjoy using hake brushes. It's really up to you, but hake brushes are a lot more expensive and tend to shed all over. Also, you can get foam brushes in a wide variety of sizes! The benefit of a hake brush is that they can give very nice effects on the border and tend to give extremely even coats. Eh, I go for the foam; I'm cheap. I use a hake brush for cyanotypes, though.
 |
| Poorly Applied Single-Coat |
When brushing on your dye, the evenness of the coat is important. You don't want to leave streaks and you don't want to coat too lightly; it will leave blotches where there's visible overlap of your first and second coats. This isn't going to affect the quality of your print, but it will leave very visible lines. Ideally, you'll get a perfectly smooth, even coat and no one will be able to see any brush lines or double-coat edges. If your first coat goes streaky, try adding a second coat after the first one dries.
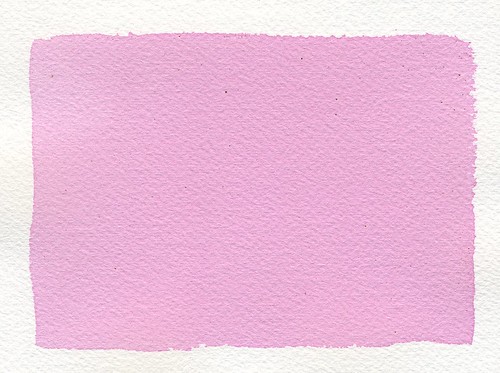 |
| Smooth, Even Coat |
Soaking: This is my preferred method of preparing fabric for anthotype use, but I don't like it for paper. In my experience, when you soak paper in your dye, the dye absorbs so fully into the paper that it takes much, much longer for you to get a good exposure. The pigment works its way into the fibers of the paper and that makes it harder for the sun to break down the pigment. At least, that's my theory. I'm not a scientist, so I can't explain it scientifically. I just know that when I test soaked paper samples vs brushed paper samples, the soaked papers take longer to expose and come out with less contrast because the exposed regions retain far, far more color if they've been soaked in the dye.
Now, for fabric, soaking is generally a better way. When soaking a fabric sample in dye, I like to fill a mason jar with the dye and drop the fabric into the jar, which I can then seal up and shake heartily for a good while to agitate it. I can leave it to soak for hours or days, shaking every so often. Sometimes, to ensure even coverage, I remove the fabric, wring it out in the sink and stuff it back in the jar in a different arrangement so I don't end up with a tie-dye effect. For paper, I use a flat tray full of dye that I cover with something opaque so light doesn't get in there and start exposing the paper prematurely. Again, agitation is important. I turn over my paper a few times during the soak using tongs.
Side Note: Dayum, this post is WAAAAY longer and more complex than I thought it would be!
There may be other ways to get your dye onto the substrate, but they'd be pretty specific to an odd substrate. For paper, fabric, vellum and leather, it just comes down to either soaking the material in your dye or brushing the dye onto the surface. If you have other ways, please comment and let me know how they work and when you use them!
I think next post will be about substrates and the different pros and cons of the ones I've explored, plus some theory on ones I haven't tried yet but have data on.
No comments:
Post a Comment