Showing posts with label phone photography. Show all posts

Friday, December 19, 2014

Blogging for Freya: The Little Things

Poinsettia leaf under the microscope stand
It's been an exhausting week, Spiders. My dog had emergency surgery and his recovery is not going well. I found out that I didn't get a job I was really hoping to have for next semester. I'm still waiting to hear back about a grant for 2015, and I haven't heard anything from the admissions people at one of the graduate programs I want to apply for in the fall. It's just not been a great time lately.

But, I have still been working. For my birthday, my family helped me put together a microscope platform for my cell phone. It's a cool little project that I found on IFLS. The original video and instructions are available on Instructables. There are some limitations, and it certainly cost more than $10. It was about $30, total, though some of that was because I had to use alternate parts, and needed some springs to help stabilize the specimen stage. Still, $10 isn't a good estimate for this project.

Keep in mind that I'm saying it was $30 to build a microscope for my cell phone. That's pretty nifty. Yes, you can buy cheap digital microscopes for about $40, and there is actually a purpose-designed cell phone attachment for $15. This set up is fairly customizable, and you can add or substitute lenses for different effects. So, I'm fairly pleased with the concept. The results.. eh.

The platform, with slides.
A big issue with high magnification, using any format at all, is focal distance and focal length. The subject needs to be right up next to the lens to be seen, and your depth of field is practically two dimensional. We're talking way under a millimeter for this set up. I can focus on the top of a cube of loose salt, but not the entire cube. Yeah, I can't get a whole grain of salt in focus. It's too big. So that is a consideration, certainly.

The lens I used, stolen from a $2 laser pointer, is a bit smaller than the lens of my cell phone, meaning I only have a limited field of view. The edges of the laser-lens is visible in the cell phone images, causing extreme vignetting. Maybe the center 30% of the final photo is in focus. Zooming in at all causes severe distortion and pixellation. You can see that in the photo of the text from a US quarter, over on my Instagram. I've been tagging all the photos with this rig as #cellphonemicroscope.

It is theoretically possible to stack lenses for greater magnification, which actually allows plant cells to become visible. I haven't tried that myself, but all the issues with depth of field, vignetting and focus would be doubled along with the magnification. I really doubt the final result is worth the trouble, but I may experiment with it later.

Generally, I think this was a fun project, and I do enjoy playing around with it. I'm glad my family helped me put the stand together, and it made for a great birthday present. The image results aren't anything to write home about, at least not yet. It's certainly worth exploration, though.

Friday, October 24, 2014

Blogging for Freya: Folding Paper

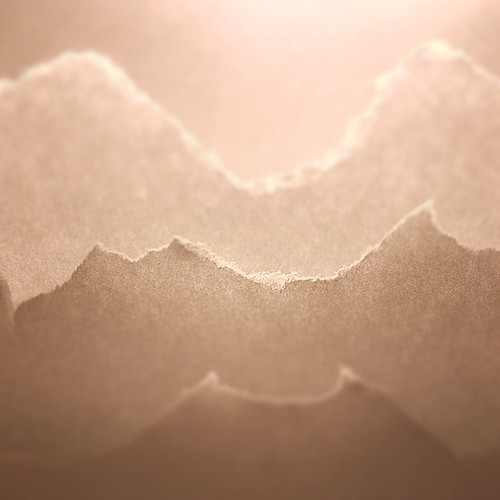
Folded Paper Project, Day 4
I've been working on a side project recently, Spiders. While attending SPESE-2014 I attended a lecture by Aline Smithson, the founder of the Lenscratch photo blog. She was talking about, among other things, about how she started her blog and how it's become one of the most popular and well-trafficked photography blogs online. She decided early on that she was going to write about a different photographer every day.

As you know, Spiders, I struggle to post a blog entry about any topic at all on a weekly basis. The idea of researching and featuring a different photographer every single day blows me away.

No, of course that doesn't mean I'm going to start posting more often. That's silly.

Still, the idea got lodged in my brain along with other things from the conference and from recent events. Finally getting an Instagram account, as I mentioned on Monday, was one such thing. It was largely motivated by the idea of getting my work "out there" via another outlet and potentially reaching other people interested in what I do. Another thing that was rolling around in my brain was the sheer amount of work being produced by some artists I keep in touch with, like Joshua White and John Fobes. I was also struggling with constantly trying to convince my students that, yes, they can make amazing photos and no, they do not have to go anywhere to do it. They can make interesting compositions right at their desks!
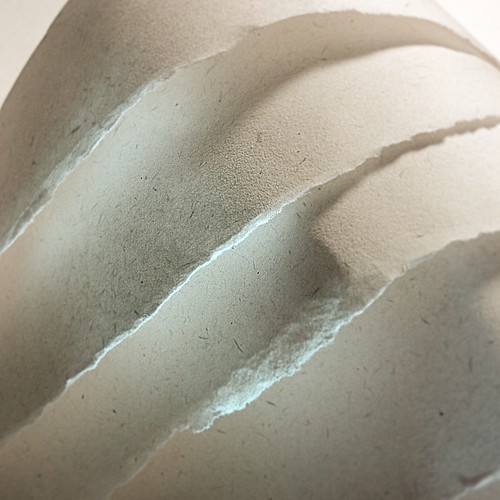
Folded Paper Project, Day 3

Those many things came together and I decided to start a new series: the Folded Paper Project. I started off with some rules for myself.

1) Take a new photo every day, using Instagram
2) Shoot only torn, cut or folded printer paper
3) Use only household light sources
4) Apply identical in-app adjustments to each photo

The most "advanced" tool I've used in the project so far is sticky poster tac to hold bits of paper in place for me, and a plastic ice cream bucket to act as a diffusion surface.

So far, the project has been quite fun. I haven't missed a single day yet, though for the Folded Paper Project, I'm measuring "day" by my sleep cycle rather than the 24-hour calendar. So if I don't get to the image until 2 AM, that's fine, because I haven't gone to bed and woken up the next morning yet! Honestly, Spiders, I think that is pretty much how I treat this blog, except I really do try to get it done on Thursdays so I can stop angering Thor. I just keep missing that deadline.

If you want to follow the Folded Paper Project, I'm keeping it tracked via Flickr as well as on Instagram!

Monday, October 20, 2014

Inspiration and Illumination via Instagram

All the elements assembled for shooting
Instagram is great! Since I started using it, I've been doing tons better at documenting my processes and experiments. It's so much easier just to use my phone to Instagram small set-ups and examples rather than to have to get lights set up, pull out the DSLR, deal with Camera RAW files and all the other mess that comes from a "proper" shoot.

The difference in results isn't that dramatic, either. Not to say there isn't one, but for my primary purposes (this blog), I don't need huge, high-res images of my process. Now, if I ever get around to assembling that Anthotype book I keep talking about (you know the one, Spiders...) then I will have to do process documentation shooting with a real camera. Ditto for the Lumen Folio. For now, though, Instagram is where it's at. Spiders, did you know you can even get people interested in your work via Instagram?

Shoot in progress!
My Instagram hero is Joshua White, a professor up at App State in Boone. His entire current body of work, A Photographic Survey of the American Yard, was created on Instagram and is displayed on his account. With simple rules, minimal equipment and a straight-forward procedure, he creates gorgeous pieces of work. On Instagram. With an iPhone. So that's awesome. So far he's been featured by Instagram itself, in articles on Wired.com, Mother Nature Network, Fstoppers, Gizmodo, FeatureShoot, and probably other places! He's Instagram-famous, and it's really cool.

I actually took inspiration from Joshua when figuring out how to document my Plastron Prints and my Cyanotags (another project that I'll blog about soon!) for viewing. The photos here today are showing how that documentation works. It's really simple, Spiders.

The finished result, via Flickr!
There isn't much you need to do shadowless, floating documentation of small objects.  A shaded, outdoor space to shoot in is the most basic. Then get a piece of cardboard, or foamboard, or a corkboard.. anything pins will go into but not back out of easily. If the board you're using isn't the right color and/or texture, then add a sheet of paper or other covering to make it the right color and/or texture. Then just get yourself 1-3 pins, and some sticky poster-tack or soft wax. Then you can adhere the object onto the pin(s), holding it off the surface of the paper-covered board. That distances the object from the background, reducing any shadows not already removed by using the diffuse light of an outdoor, shaded shooting area.

Your end result should be a very clean image, as shown in Joshua's series and my latest images on Flickr. The images I posted earlier, on Instagram, used the same ideas, but I shot them inside, using desk lamps. That created shadows. So when I wanted larger, clearer images (using a DSLR and a macro lens), I took my set-up outside! The results from outside were much better.